
How to make a real estate video
This comprehensive step-by-step guide provides everything you need to know to create high quality real estate videos. In this guide, you’ll discover how best to plan your shoot, what types of property video you can make, what cameras and settings to use, how to film a real estate video, what options you have when it comes to editing and where to share and track your property videos once they are out there. Let’s dive in.
Real estate video has become an increasingly popular method for real estate agents, brokers and property developers to showcase properties and attract potential buyers and renters. With the advent of technology and the widespread use of social media, video marketing has become an essential tool for real estate professionals to reach a wider audience and increase their chances of making a sale. In this article, we provide a step-by-step guide to creating your first real estate video.
1. Decide what sort of real estate video you need
Before you start filming, take some time to think about what sort of real estate video you are trying to create – the style of execution will depend on who will be watching it and on what channel(s).

Real estate videos that will live on website listing and property portal pages should be executed in horizontal (16:9) format. They often contain more information, can include a voiceover or text graphics, and can be longer than videos geared for social media.

Real estate videos that will live on social media are best executed in vertical (9:16) format. They should be quicker and shorter to grab people’s attention and be edited to more up-tempo and on trend music. We like to think of your website and portal pages as more of a formal shop front for a more targeted house-hunter and your social channels as a more informal space where you can flex your creative muscle, engage a wider audience and position your brand.
2. Decide what camera to use for your property video
You don’t need to have an expensive professional camera, but make sure that the camera you use can capture high-quality footage in HD or 4K (ideally with a wide field of view using a wide angle lens).
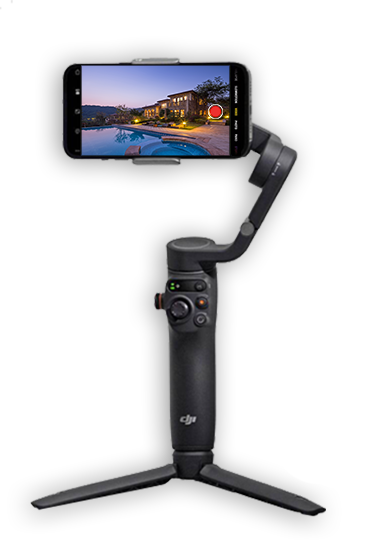
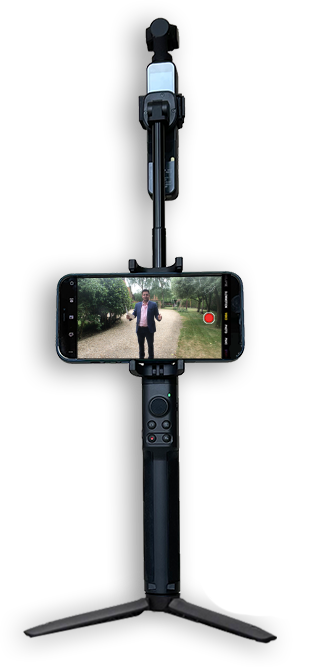
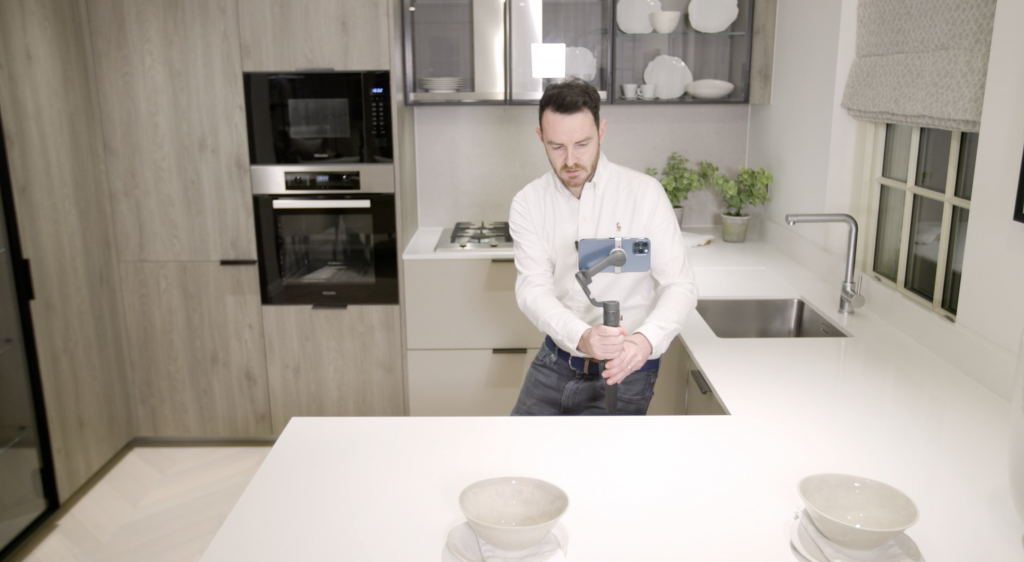
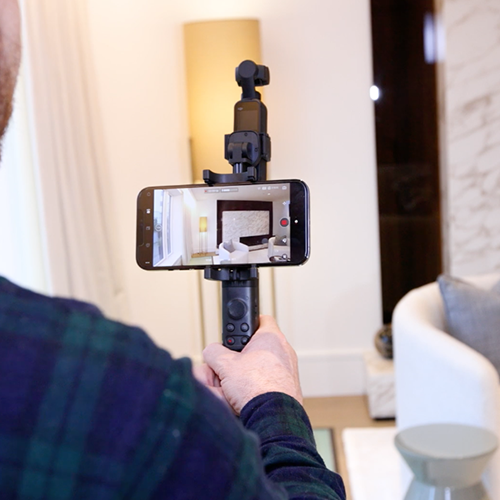
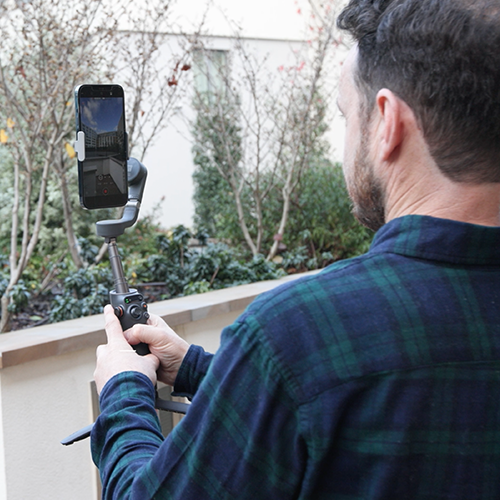
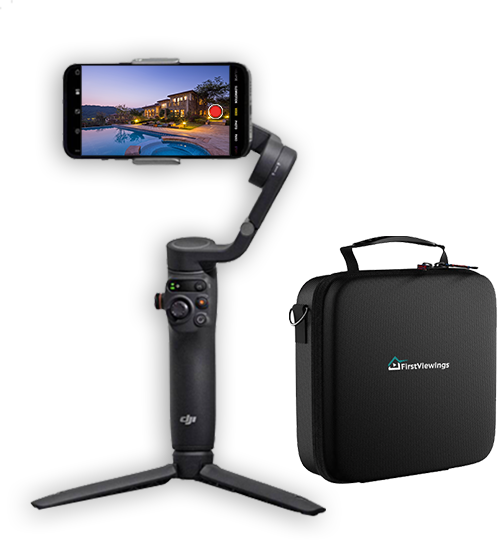
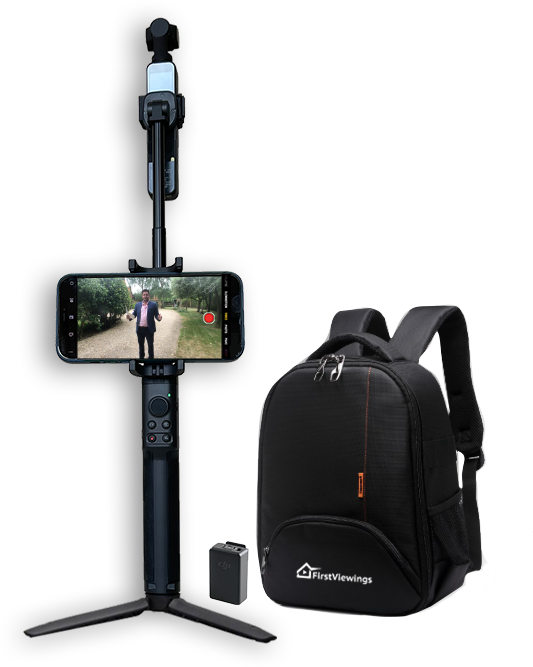
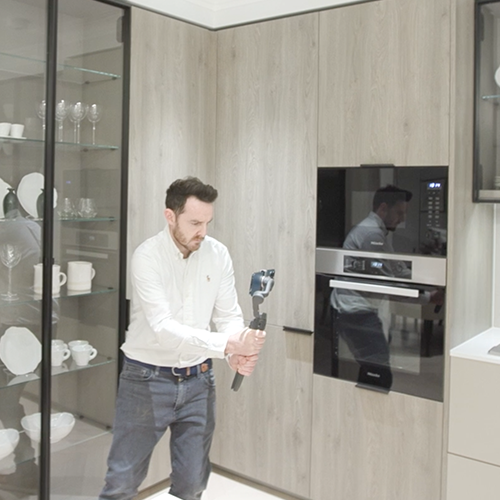
For beginners or those with little experience of filming but with access to a modern smartphone, we’d recommend getting started with a smartphone and gimbal. If you’re unsure what gimbal to get, check out our handy article comparing the best smartphone gimbals on the market – [insert link]. You can also view the video below which provides an overview of the DJI Osmo Mobile 6 smartphone gimbal, which is a gimbal we can recommend.
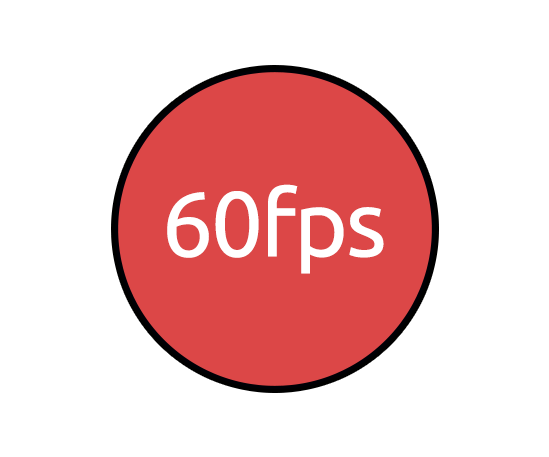
For those without access to a modern smartphone and who don’t want to break the bank on professional gear, we’d recommend a pocket camera like the DJI Osmo Pocket 2. This little but powerful camera captures HD and 4K clips in 60fps and can be synched to your smartphone wirelessly so you can see exactly what you are capturing. Please view the video below for an overview of the camera’s key features.
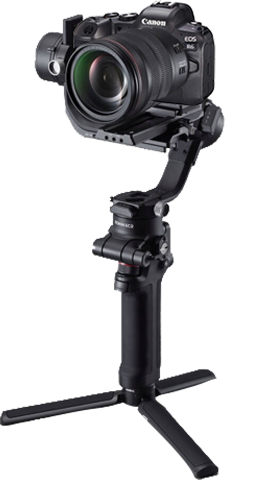
For those with more experience of filming or those who are looking to push the envelope with professional grade footage and are happy to spend some money, we’d recommend the Canon R5C mounted on the DJI RS2 gimbal with a Canon EF 16-35mm lens. This is one of the best cameras for real estate video. Other cheaper professional camera alternatives include the Sony A7S IV, the Canon EOS 5D Mark IV and the Panasonic GH6.
3. Plan ahead for your real estate video
Before hitting record, scope out the property to plan the shots you want to capture. Think about what time of day will be best to shoot and consider the best angles, lighting and features of the property that you want to highlight.

a) Plan the filming route around a property
Much like conducting a property viewing, we recommend shooting the property in the order you might present it in person. This helps organise the narrative when it comes to editing.
b) Clean and declutter the property
A tidy and clutter-free space will look more appealing on camera so make sure beds are made, lights are on, curtains are opened and spaces are tidied.

c) Weather and light
Weather is an important consideration when it comes to filming a real estate video. Filming a property on a dark, rainy or gloomy day will have a significant effect on the quality of the light in the property and will make exterior building shots look flat and uninviting. So it is best to try and time your filming when the weather is dry and ideally when there is some sunshine, though this is not always possible!
Filming a real estate video in the early morning or later in the afternoon when the sun is lower make for good filming conditions. Try to avoid filming at night or at the end of the day when there is little natural sunlight. The only exception is if you wish to showcase external lighting features or views that will be illuminated in the evening.
Finally, you should also be aware of how the sun tracks across a property particularly for external shots. Be mindful to keep key facades of a property illuminated by natural sunlight rather than filming them when they are cast in shadow.
4. Camera settings for your real estate video
a) Frame rate
For real estate videos we would recommend filming a property with a frame rate of 60fps in HD or 4K. This higher frame rate means one can slow down camera pans and movements in post production for buttery smooth clips that will add to the overall quality and premium feel of your final edited real estate video.

b) Exposure
For beginners, you can rely on your camera’s auto exposure function but to get the very best shots, we would recommend setting your exposure manually on a room by room basis. The exposure will determine how much light the camera captures in a clip, so increasing the exposure will help brighten darker rooms and spaces.
c) White balance
For beginners, you can rely on your camera’s auto white balance feature to calibrate the colour temperature for a room. However, internal spaces may often be lit by a particularly yellow light and this is where changing the colour temperature can be a useful tool. Your camera’s colour temperature can be changed manually using the Kelvin scale often denoted on cameras with the abbreviation ‘K” (standing for Kelvin).

d) ISO, shutter speed and F-stop
Finally you can rely on your camera to automatically set ISO, shutter speed and F-stop. However, for more control, we recommend adjusting these settings on a room by room basis so you can correctly expose a clip and also achieve a depth of field for a more cinematic look. Your camera’s ISO will determine the sensitivity of your camera’s sensor.
– ISO
The ISO setting is one of three elements used to control exposure; the other two are f/stop and shutter speed. Increasing the ISO is useful in low light scenarios when filming darker rooms, such as a cinema room for example. Different cameras perform at different levels in low light conditions. Generally, higher end cameras, mirrorless cameras and DSLR cameras perform better in low light scenarios than small form factor cameras and smartphones. Each time you double the ISO (from 200 to 400 for example), the camera needs only half as much light for the same exposure.
– Shutter speed
The shutter speed can contrastingly be used to let in less light to your camera’s sensor resulting in a darker image. As a good rule of thumb, your shutter speed should be double your frame rate so if your are filming with a frame rate of 60fps the shutter speed should be set to 1/120th. You can also adjust shutter speed to negate the effect of flickering lights within a property.
– F-stop
F-stop is the term used to denote aperture measurements on your camera and is linked to the type of lens you are using to film. The aperture controls the amount of light that enters the camera lens and it’s measured in f-stops (eg f/1.8, f/2.8, f/4/0, f/5.6 etc). You can also use F-stops to control the look of a video clip, particularly its depth of field. This is useful, for example, when filming closeups of fixtures and fittings and enables you to blur out the background and keep the key feature in focus, for a more cinematic look and feel. See the video example below.
5. Filming your real estate video
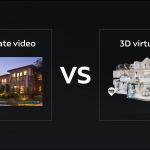
How you approach filming a property will depend on the type of real estate video you wish to create. For example with promotional real estate videos you will need to record multiple clips, whereas a walkthrough video is a quick one-take fly through of the entire property, more akin in feel to a virtual tour. If you’d like to explore the differences between real estate video and virtual tours, learn more here.
If you’re planning to shoot a promo video, we recommend filming a one-take walkthrough of the property in addition to your individual clips. In recording a walkthrough, you often capture great connector shots between rooms and spaces as you move through them. This helps create a more natural sense of flow to your promo video as you guide viewers through a property room by room.
Below is a video tutorial on how to film a real estate walkthrough video.
By recording a real estate walkthrough in addition to your promo, you have two videos up your sleeve – a promo video for your website and portal pages and a faster walkthrough video for your social channels and for use in any direct personal communications.
How to approach filming a real estate video
a) Film in landscape or portrait mode
For real estate website and portal listings we recommend filming in landscape mode (16:9) and for social media videos we recommend filming in portrait mode (9:16). You may therefore choose to film clips for a promotional video in landscape mode and then switch to portrait mode to film content for your social media channels.
b) Set the scene
We recommend shooting your external shots of the property first. You may also like to capture location shots to highlight a property’s proximity to transport links, cafes, schools, parks and local lifestyle. If you do not have time to capture location shots, you have the option to use stock media sites in post production.
However, most stock libraries only provide clips of major landmarks in key cities so it may prove difficult to find clips of local neighbourhoods. Specialist stock libraries like those offered by First Viewings are a good alternative as they provide stock clips of locations at a more granular level.
c) Intro shot
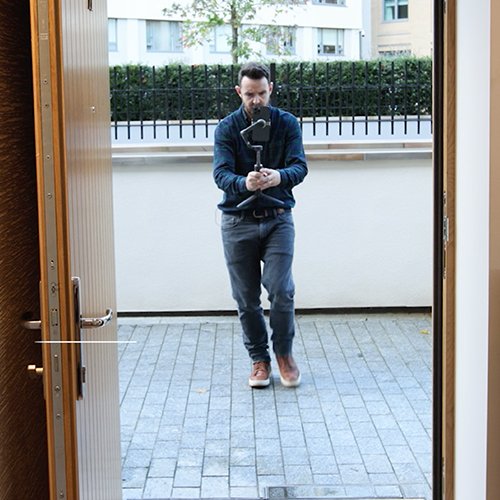
Once you have set the scene, try get a clip entering the property through the main door just like someone would do in person when viewing the property for the first time. This provides a nice narrative link between the property’s external features and its internal layout. If you have someone to help with filming, it can be useful for them to open the door as you enter the property while recording.
d) Filming internal property shots
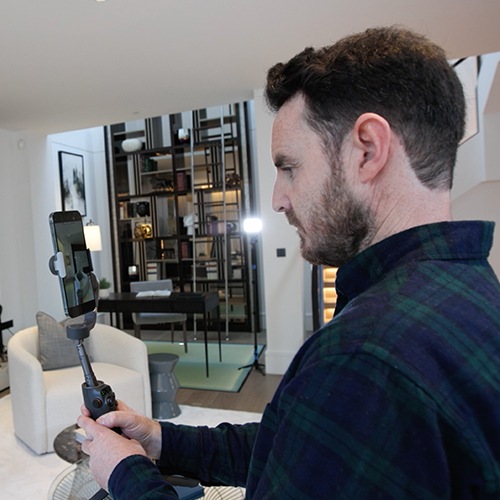
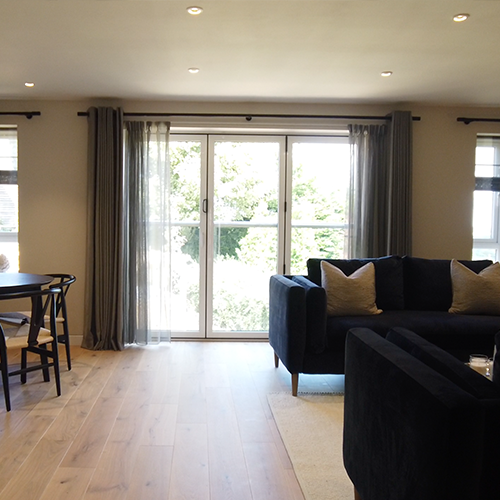
Once you have captured your entrance shot, we recommend filming clips room by room in an order that makes sense. Generally, we would advise starting with the key living areas and kitchen before moving on to bedrooms, bathrooms and other key features. When filming, focus on the best features within the property. This could be fixtures and finish, a stunning view, unique architecture or spacious living areas. Use a variety of shots such as horizontal and vertical pans to convey a feeling of space, and slider shots to reveal rooms.
Here are a few video tutorials we have created if you’d like to learn more about key filming techniques for a real estate video, using a DJI smartphone gimbal. Many of the same principles and techniques apply when filming using other cameras.
Filming techniques using DJI smartphone gimbal
Basic filming techniques
Advanced filming techniques
Filming techniques using DJI Pocket camera
Here are a few more video tutorials to learn more about filming techniques for a real estate video using the DJI Osmo Pocket camera.
Basic filming techniques using DJI Pocket camera
Advanced filming techniques using DJI Pocket camera
For further practical tips on filming techniques check out our real estate video filming tutorials on our YouTube Channel.
e) Things to be mindful of when filming a real estate video
Mirrors
Properties with glass interiors, reflective surfaces or mirrors can be troublesome particularly when they reveal the person behind the camera in the reflection. So be mindful of this, particularly when filming bathrooms.
Windows
While windows let in natural light and brighten a room, filming directly into them with a camera set to auto exposure will result in a darkened silhouetted image as the camera automatically tries to re-expose the image due to the window’s strong light source. To avoid this, set your exposure, f-stop and shutter speed manually to correctly expose a window as well as the rest of a room. As a rule of thumb, always try to film room with a source of light, such as a window, behind you.
Flickering lights
Nothing is more annoying than filming a property only to realise when you get back to the office that all your clips have flickering because of overhead lights. Different light sources have different frequencies (Europe’s main frequency is 50HZ where the US, for example, is 60HZ). To counteract the flickering, toggle the camera’s frame rate until you find the sweet spot where flickering no longer causes an issue.
6. Editing your real estate video
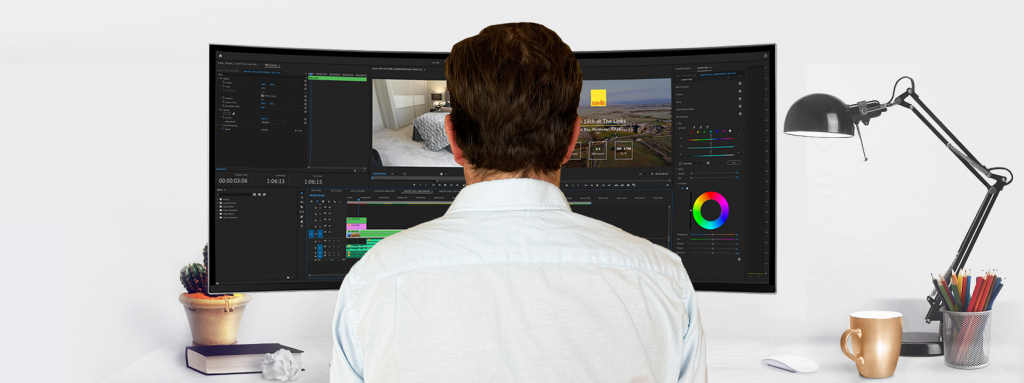
a) Editing real estate videos yourself or in house
How you choose to edit your real estate video will be dictated by the time, cost and level of quality required as well as the channel(s) you propose to share your video to. If you want to edit videos yourself, you can use professional software like Adobe Premiere Pro or Final Cut or you can use free self-serve video maker apps, but these all require time to learn and you will likely have to make some sacrifice on quality.
Larger real estate teams can of course use dedicated content creators within their marketing and digital teams to edit videos, but it will still require management at any level of scale. Smaller real estate businesses without the in-house resource or editing expertise can outsource video production to freelancers, production agencies or turn-key marketing agencies. However, this may not be commercially viable as it tends to be more expensive, requires more time and is more difficult to manage.
a) Outsourcing video editing for real estate videos
A good option for both large and smaller real estate businesses is to use a platform like First Viewings. Built for real estate businesses to solve the time, cost and hassle associated with producing real estate videos, the platform enables you produce high quality videos that are professionally edited within 24 hours.
First Viewings also offers a management suite to manage all your videos under one roof as well as other useful tools such as video analytics to track your videos’ performance, a stock video library of locations, a film school with video tutorials as well as video syndication tools.
It is a great fit for large real estate businesses who want to scale video across their business without having to employ more permanent members of staff and it enables smaller businesses to outsource video editing on a pay as you go basis.
7. Sharing your real estate videos
Once you have created your video, you want to share your video online to increase visibility and to attract the attention of as many potential property seekers as possible. Sharing your video to the right channels will help reach more people in your market and generate more interest with the aim of closing a sale faster.
a) Embedding real estate videos on your website and property portals
We would recommend embedding your horizontal format (16:9) videos on website listing pages and on property portal listings as default. In addition you can share these videos to YouTube and as posts on Facebook, Instagram, Tiktok and Linkedin.
b) Sharing real estate videos to your social media channels
However, the standard aspect ratio for the best visual experience on social media is 9:16 (vertical format). It is particularly important to bear this in mind when creating reels for Instagram and Facebook and when creating TikTok videos. Sharing a 16:9 horizontal video on social media won’t be as immersive as filling up the entire screen with a vertical 9:16 video.
Vertical videos on social media also have a significantly higher completion rates when compared to horizontal format videos. This is why it is always a good idea to optimise your video content for the channels you wish them to appear on and to be mindful to segment your audiences and channels so that you are serving the right form of content to the right audience on the right channel.
c) Using real estate videos in personal communications
You can also share videos by way of direct communication with individual buyers using Whatsapp, WeChat and email. Given videos tend to be large in size, they can be hard to share and where they can be shared, they are often compressed which reduces quality. To solve these problems, platforms like First Viewings include a free dedicated hosted page for every video so that videos can take centre stage and can always be viewed in large format and in high resolution when shared by way of link in personal communications.
8. Tracking real estate video performance

Once your real estate video is out there, make sure you track how it is performing. Different channels will have different levels of analytics and data. First Viewings has an in-built analytics suite so you can track the performance of your videos and export reports. You will have access to detailed analytics on views, completion rates and average watch times as well as broader analytics data – from geographic data to source traffic, demographics to devices.
We hope you find this guide useful. If you have any questions about real estate video for your business then contact us and we would be delighted to help.

Recent Comments